Beginner's Guide to Creating a Home Recording Studio
Have you ever dreamed of creating chart-topping hits from the comfort of your own home? Well, you're in luck! With advances in technology, music production has become accessible to anyone with a passion for sound and a bit of know-how. From bedroom recording studios to professional-grade setups, the possibilities are endless.
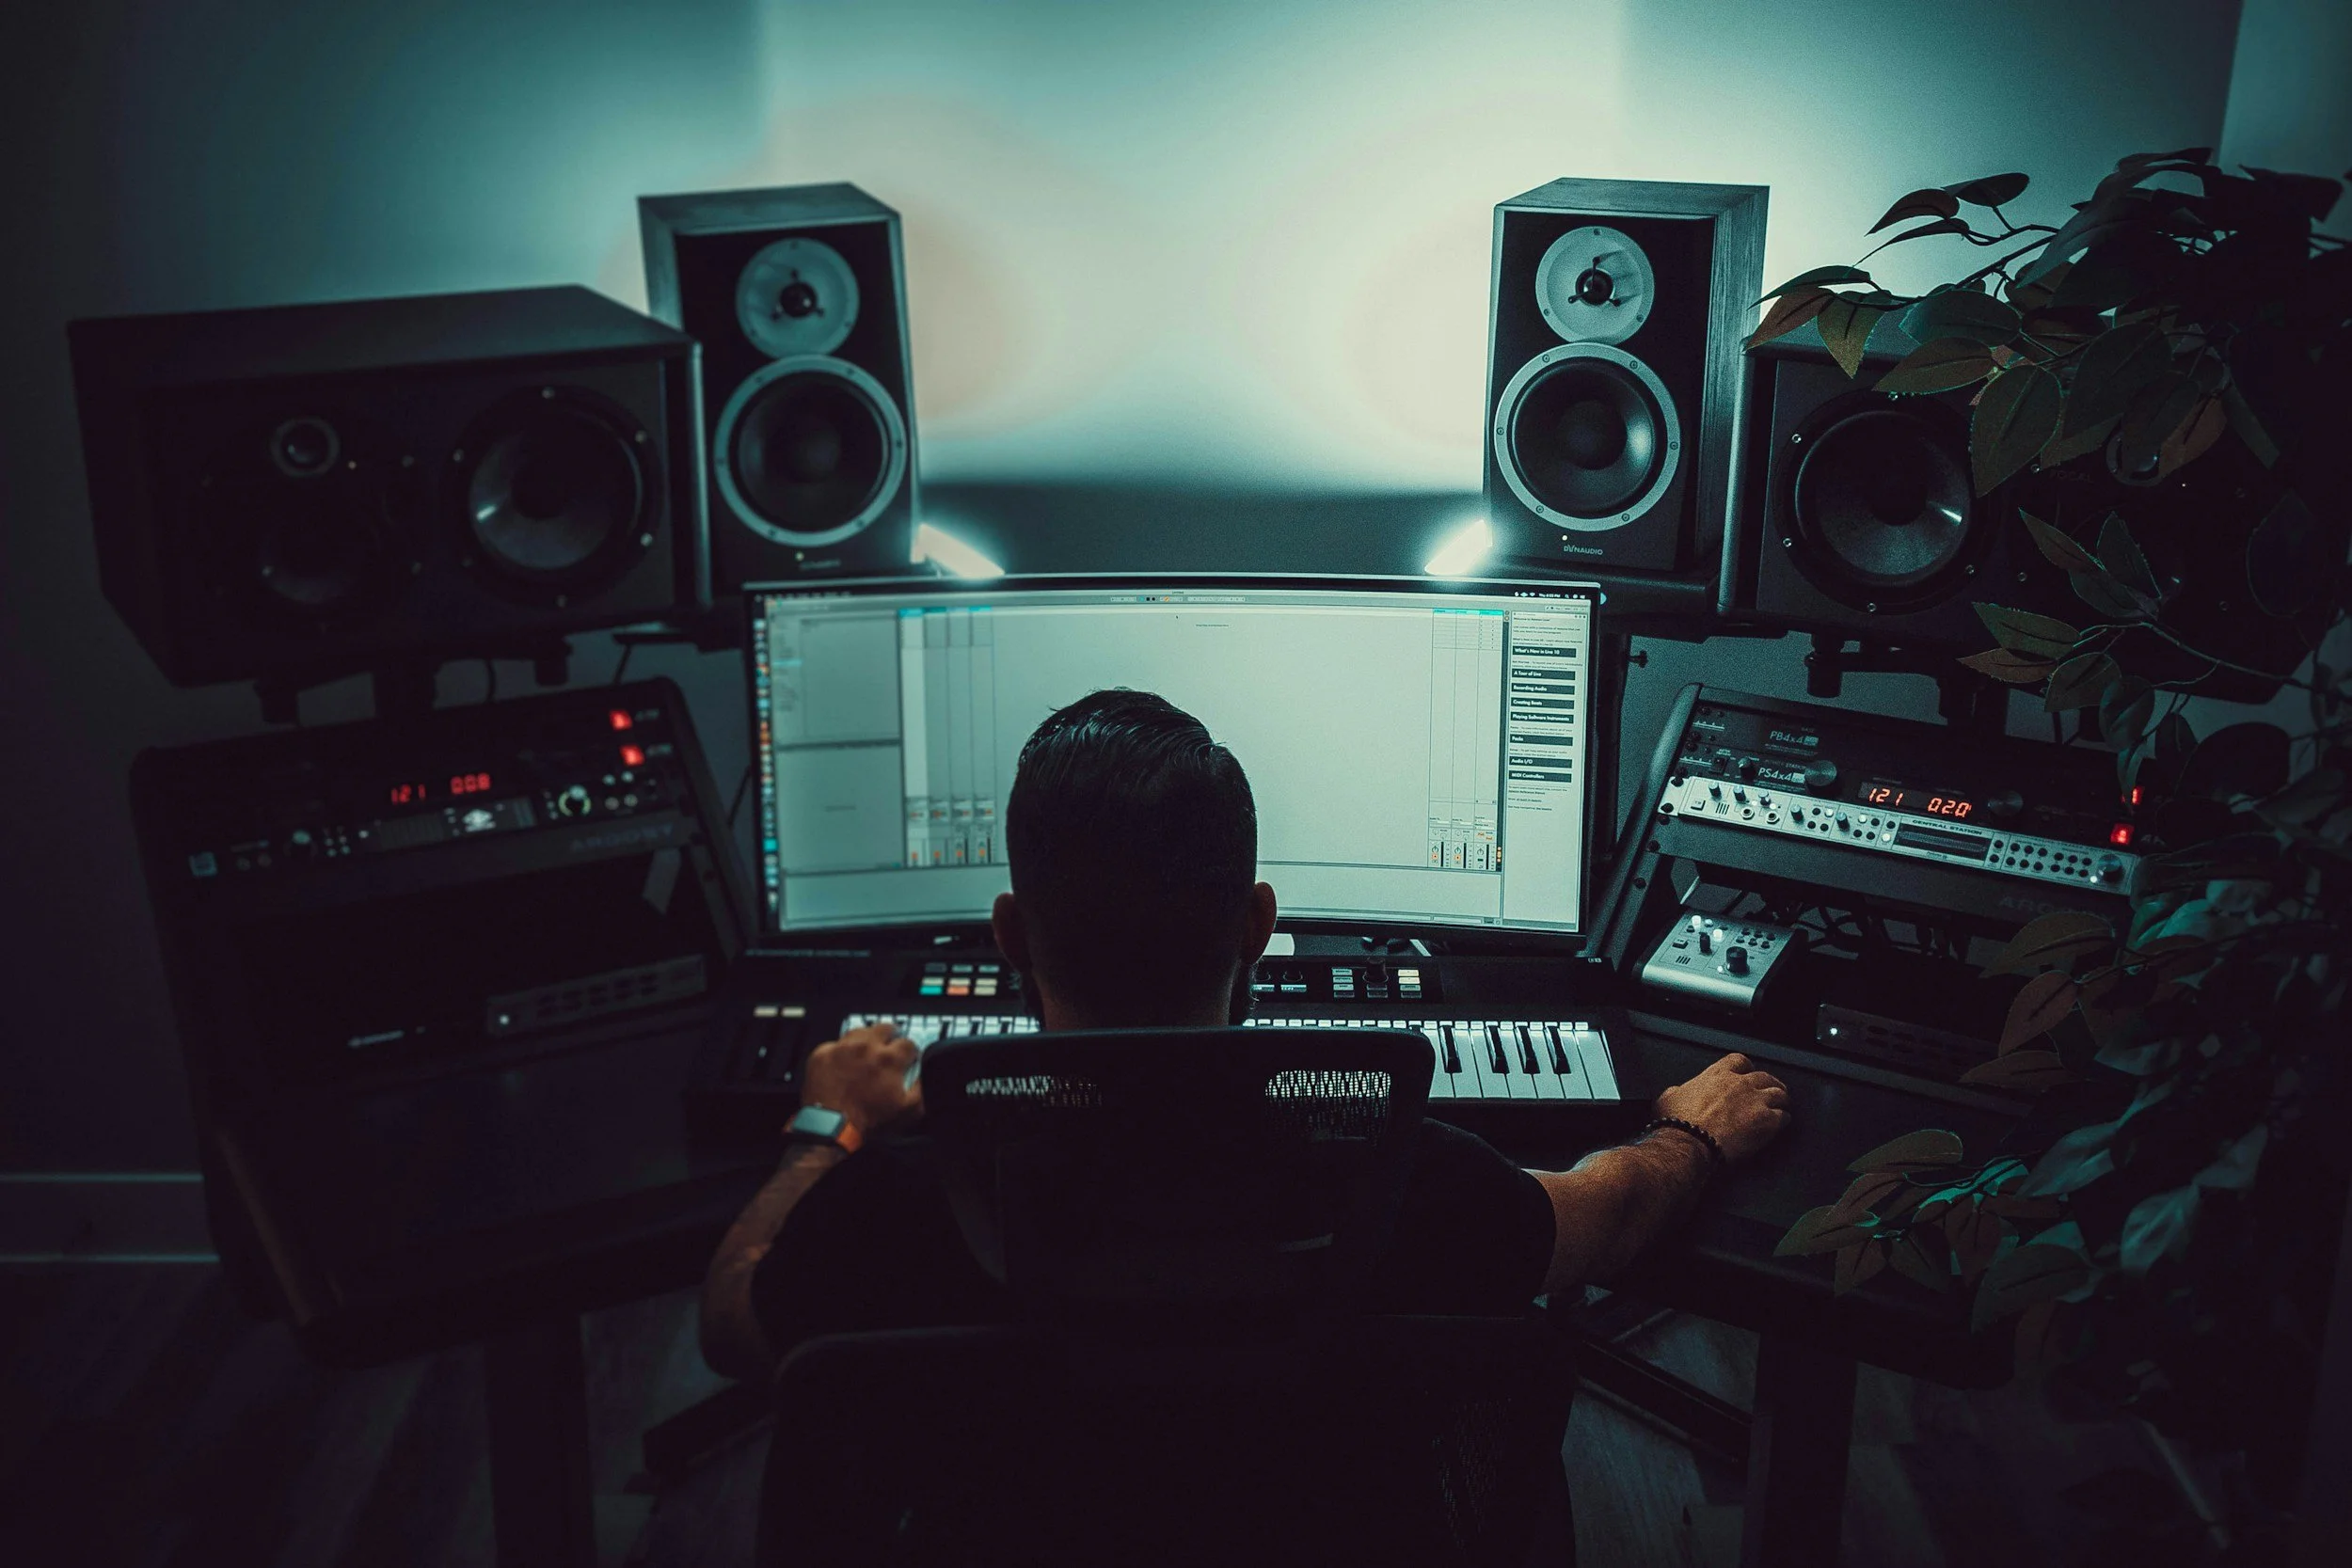
This beginner's guide will walk you through the essentials of building your music studio. We'll cover everything from choosing the right space and acoustic treatment to selecting gear like DAWs, preamps, and MIDI controllers. You'll learn how to set up multi-track recording, pick the perfect pop filter, and create an efficient workflow. Whether you're a budding producer or a seasoned musician looking to upgrade your setup, this guide will help you turn your home into a hub of creativity and musical magic.
Setting Up Your Recording Space
Setting up a recording space is crucial for achieving professional-quality sound. A well-designed studio can make a significant difference in the clarity and accuracy of recordings. Let's explore two key aspects of creating an optimal recording environment.
Room Acoustics
Room acoustics play a vital role in shaping the sound quality of recordings. When choosing a space, it's essential to avoid low ceilings and square rooms. Low ceilings can cause sound reflections, resulting in muddy and unclear microphone recordings. If a low ceiling is unavoidable, acoustic treatment becomes necessary, which may require additional expenses.
Square rooms pose another challenge due to their symmetry. They have null points where frequencies cancel out due to reflections from parallel walls. This creates empty spots in the sound, which can throw off accuracy during recording and mixing.
To combat these issues, room treatment is key. It involves using special materials to minimize reflections. Bass frequencies are often the most problematic in small rooms, as they can reflect off walls and interact with the original sound wave. This creates alternating points of bass buildup and bass null.
To address this, absorptive materials like foam panels, rockwool, or glass wool can be strategically placed to minimize low-end reflection. Acoustic foam is also useful for controlling higher frequency reflections. A combination of high and low-frequency absorption materials can effectively "deaden" a room, ensuring maximum neutrality for accurate recording and mixing.
Soundproofing Basics
Image credit: WillSpirit L.N. on Unsplash
Soundproofing is distinct from acoustic treatment and focuses on isolating a space from external sounds. It involves using specific construction techniques to keep sound in and prevent outside noise from entering. Unlike acoustic treatment, soundproofing has nothing to do with foam or fiberglass insulation.
The three basic pillars of soundproofing are mass, air, and decoupling. Mass is crucial - the more weight added to walls, floors, ceilings, windows, and doors, the better the sound isolation. Air tightness is also vital, as any air holes can allow sound to pass through. Sealing all seams with acoustic caulk and using special door seals helps create an airtight environment.
Decoupling involves separating walls, floors, and ceilings from the outside structure. This can be achieved through techniques like building a room within a room or using isolation clips and metal hat channels for walls and ceilings.
By understanding and implementing these acoustic and soundproofing principles, you can create a recording space that minimizes unwanted sound reflections and external noise, resulting in cleaner, more professional recordings.
Building Your Studio on a Budget
Image credit: Omid Armin on Unsplash
Creating a home recording studio doesn't have to break the bank. With careful planning and smart choices, aspiring audio engineers can set up a functional workspace without emptying their wallets. Let's explore how to build a studio on a budget, focusing on essential gear and where to allocate funds wisely.
Where to Splurge and Save
Knowing where to invest and where to economize can make a significant difference in your studio's quality and functionality.
Splurge on:
Monitors: Good speakers are crucial for accurate mixing.
Computer: A fast processor and ample RAM will prevent frustrating lag issues.
Acoustic Treatment: DIY options can save money while improving sound quality dramatically.
Save on:
DAW: Start with free versions and upgrade later.
Cables and Stands: Budget options often perform just as well as expensive ones.
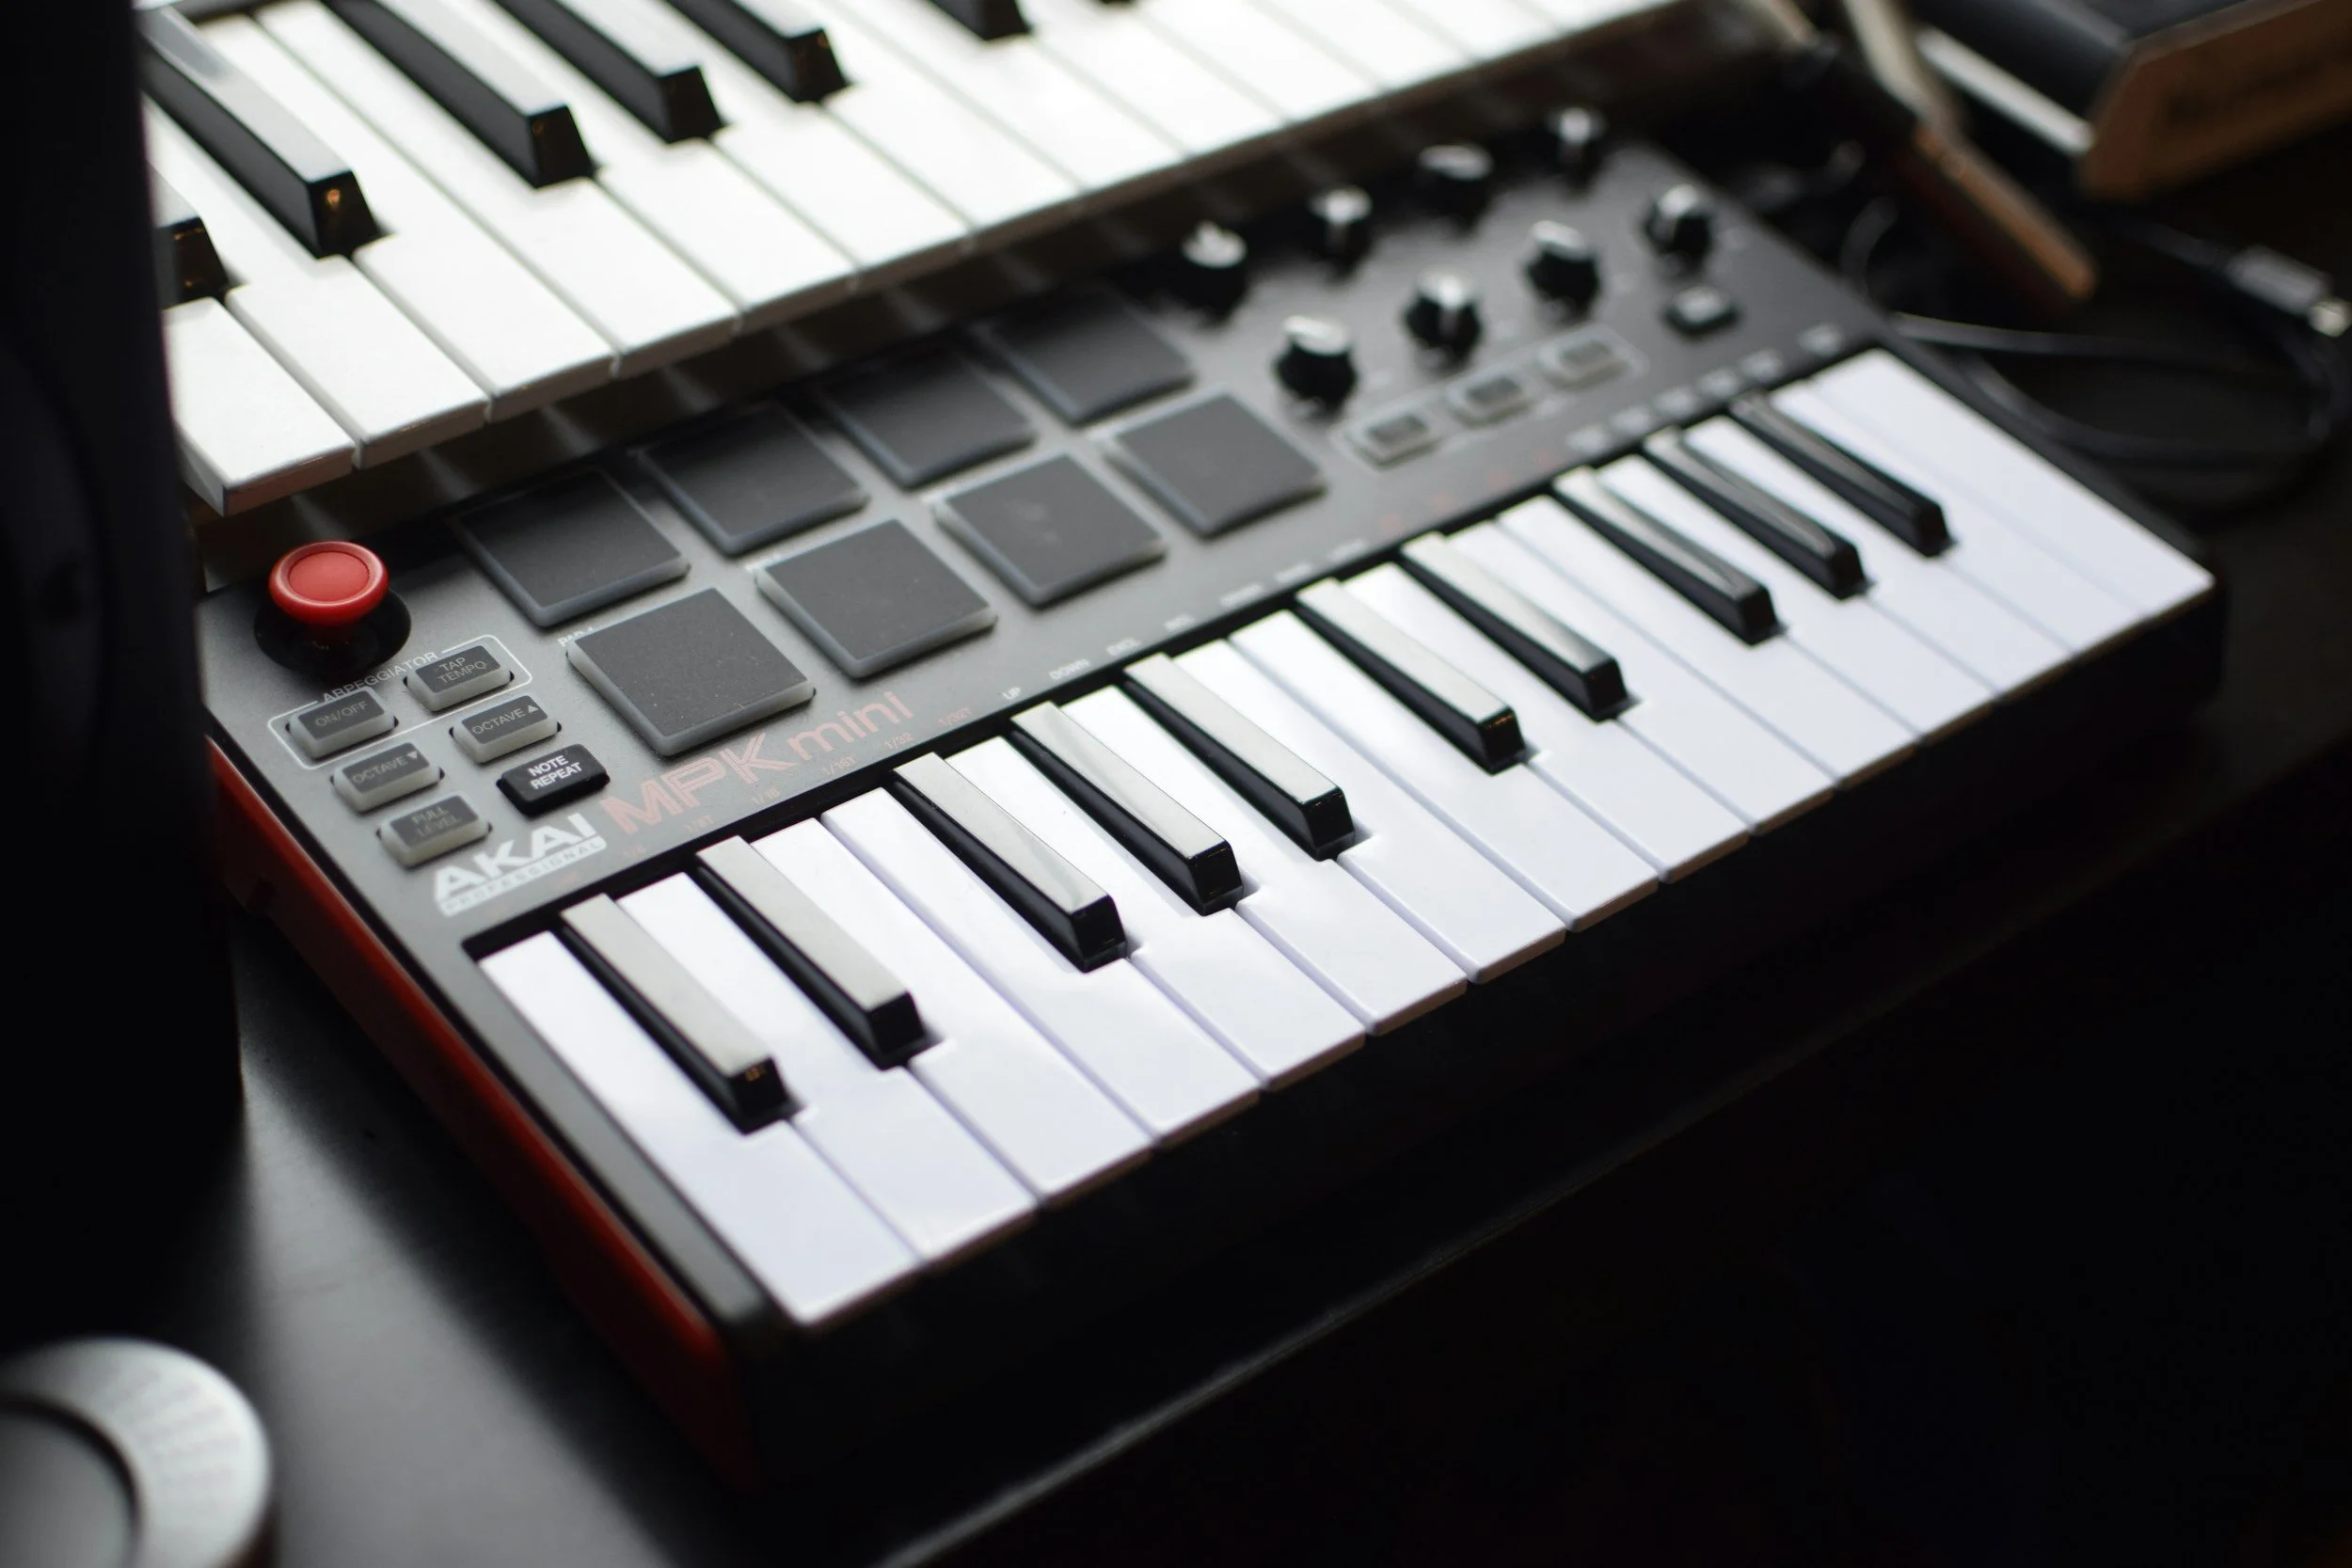
MIDI Controller: A basic 25-key model ($150-$300) is sufficient for beginners.
Remember, it's not about having the most expensive gear, but about making smart choices that align with your needs and budget. With careful planning, you can create a functional home studio for under $1000, setting the stage for your musical journey.
Acoustic Treatment Basics
Acoustic treatment is crucial for creating a professional-sounding home recording studio. It helps control reverberations, unwanted echoes, and frequency imbalances, resulting in clearer recordings and more accurate mixing. Let's explore some DIY solutions and commercial products to achieve optimal acoustics in your space.
DIY Solutions
For budget-conscious audio engineers, DIY acoustic treatment can be an effective and fun option. Here's how to get started:
Gather materials: You'll need wood, fabric, and Owens Corning 703 insulation. While wood and fabric are easily available at local stores, you may need to order the insulation online.
Build panels: Follow step-by-step video tutorials to construct your own acoustic panels. This process requires basic carpentry skills and a few tools like a saw, power drill, and staple gun.
Placement: Start by covering 20-80% of your wall space, depending on the severity of acoustic issues. Use the "clap test" to assess the room's acoustics after adding each panel.
Bass traps: Focus on corners where bass frequencies build up. Create triangular-shaped traps that fit snugly into room corners for maximum low-end absorption.
Air gaps: Incorporate air gaps behind your panels to extend their frequency absorption range, especially in the lower frequencies.
Commercial Products
For those who prefer ready-made solutions, commercial acoustic treatment products offer convenience and tested performance. Consider the following options:
Acoustic foam: Available in various thicknesses (2" standard, 4" premium) and surface patterns (wedged or pyramid). Choose based on your needs and esthetics.
Acoustic panels: Fabric-wrapped panels like GIK Acoustics' products offer excellent sound absorption across the frequency spectrum.
Bass traps: Commercial options like GIK Acoustics' Tri-Traps provide effective low-frequency control for room corners.
Coverage: Start with around 48 sq ft of treatment for most home studios.
Mounting: To avoid damaging walls, use clear packaging tape on both the wall and foam, then apply adhesive between them for easy, residue-free installation.
Remember, the key to effective acoustic treatment is balancing absorption across all frequencies, with special attention to problematic low-end buildup in corners. Whether you choose DIY or commercial solutions, proper acoustic treatment will significantly improve your studio's sound quality.
Selecting Your Studio Monitors
Choosing the right studio monitors is crucial for creating an accurate mixing environment. Let's dive into the two main types of monitors and some essential placement tips to help audio engineers achieve the best sound possible.
Near-field vs Far-field
Near-field monitors are the go-to choice for most home studios. These compact speakers typically have 5" to 8" drivers and are positioned 2-4 feet away from the listener. This proximity allows for more direct sound and less room reflection, making them ideal for critical mixing and mastering tasks. Near-fields provide a flatter frequency response, offering a more accurate representation of how consumers will hear the mix.
Far-field monitors, on the other hand, are those massive speakers you'll find in professional studios. They boast larger drivers and are usually mounted on or in walls, often placed up to 10 feet away from the listening position. Far-fields excel at reproducing low-end frequencies and are great for checking overall mix balance. However, they require more space and proper acoustic treatment to perform optimally.
For the average home studio, near-field monitors are the way to go. They're more practical, affordable, and still capable of delivering professional results.
Placement Tips
Create an equilateral triangle: Position your monitors so that they form an equilateral triangle with your head at the listening position. This ensures optimal stereo imaging.
Aim for ear-level: Align the tweeters with your ears for the best high-frequency response.
Mind the distance: Keep near-field monitors 2-4 feet away from your listening position.
Avoid walls and corners: Place monitors at least 8-12 inches away from walls to prevent unwanted reflections and phase cancelation.
Symmetry is key: Ensure both monitors are equidistant from side walls and positioned symmetrically in the room.
Use monitor stands: Decouple speakers from your desk using stands or isolation pads to reduce unwanted vibrations.
Toe-in for sweet spot: Angle the monitors slightly inward to create the ideal listening "sweet spot."
By following these guidelines, audio engineers can create an optimal listening environment for accurate mixing and mastering.
Choosing the Right Microphone
When setting up a home recording studio, selecting the appropriate microphone is crucial for capturing high-quality audio. Let's explore the two main types of microphones and some popular options for beginners.
Dynamic vs Condenser Mics
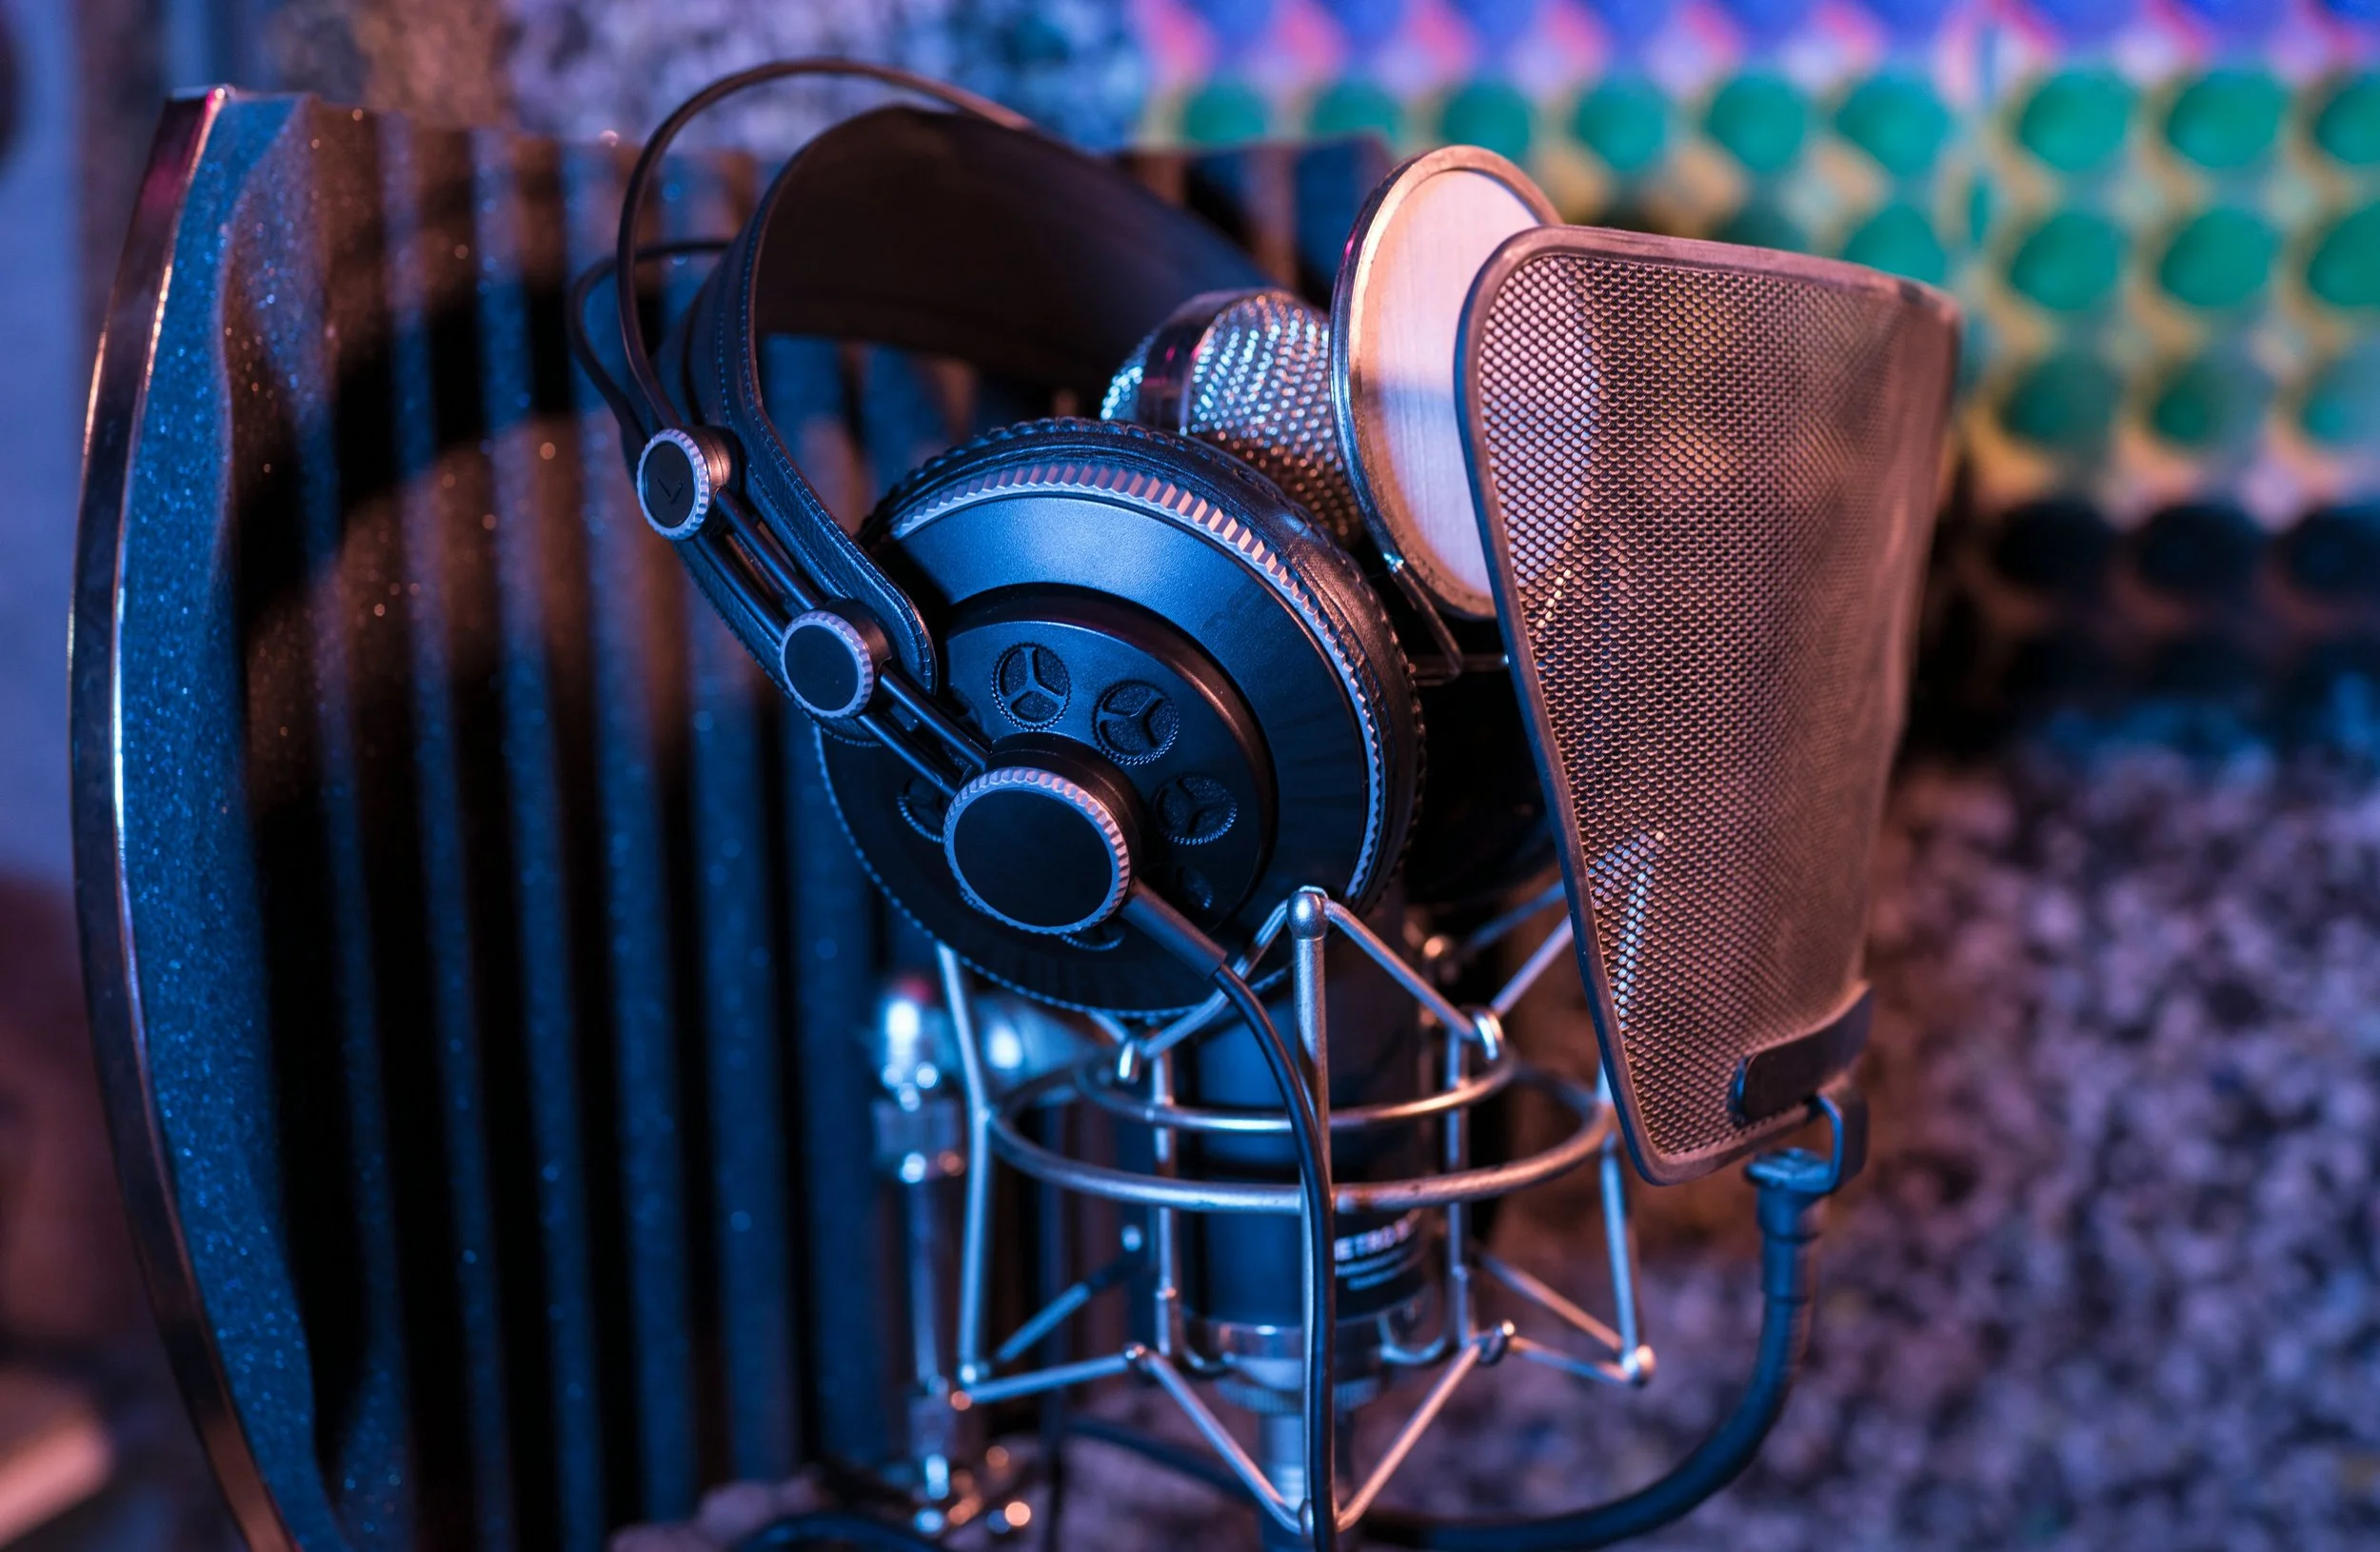
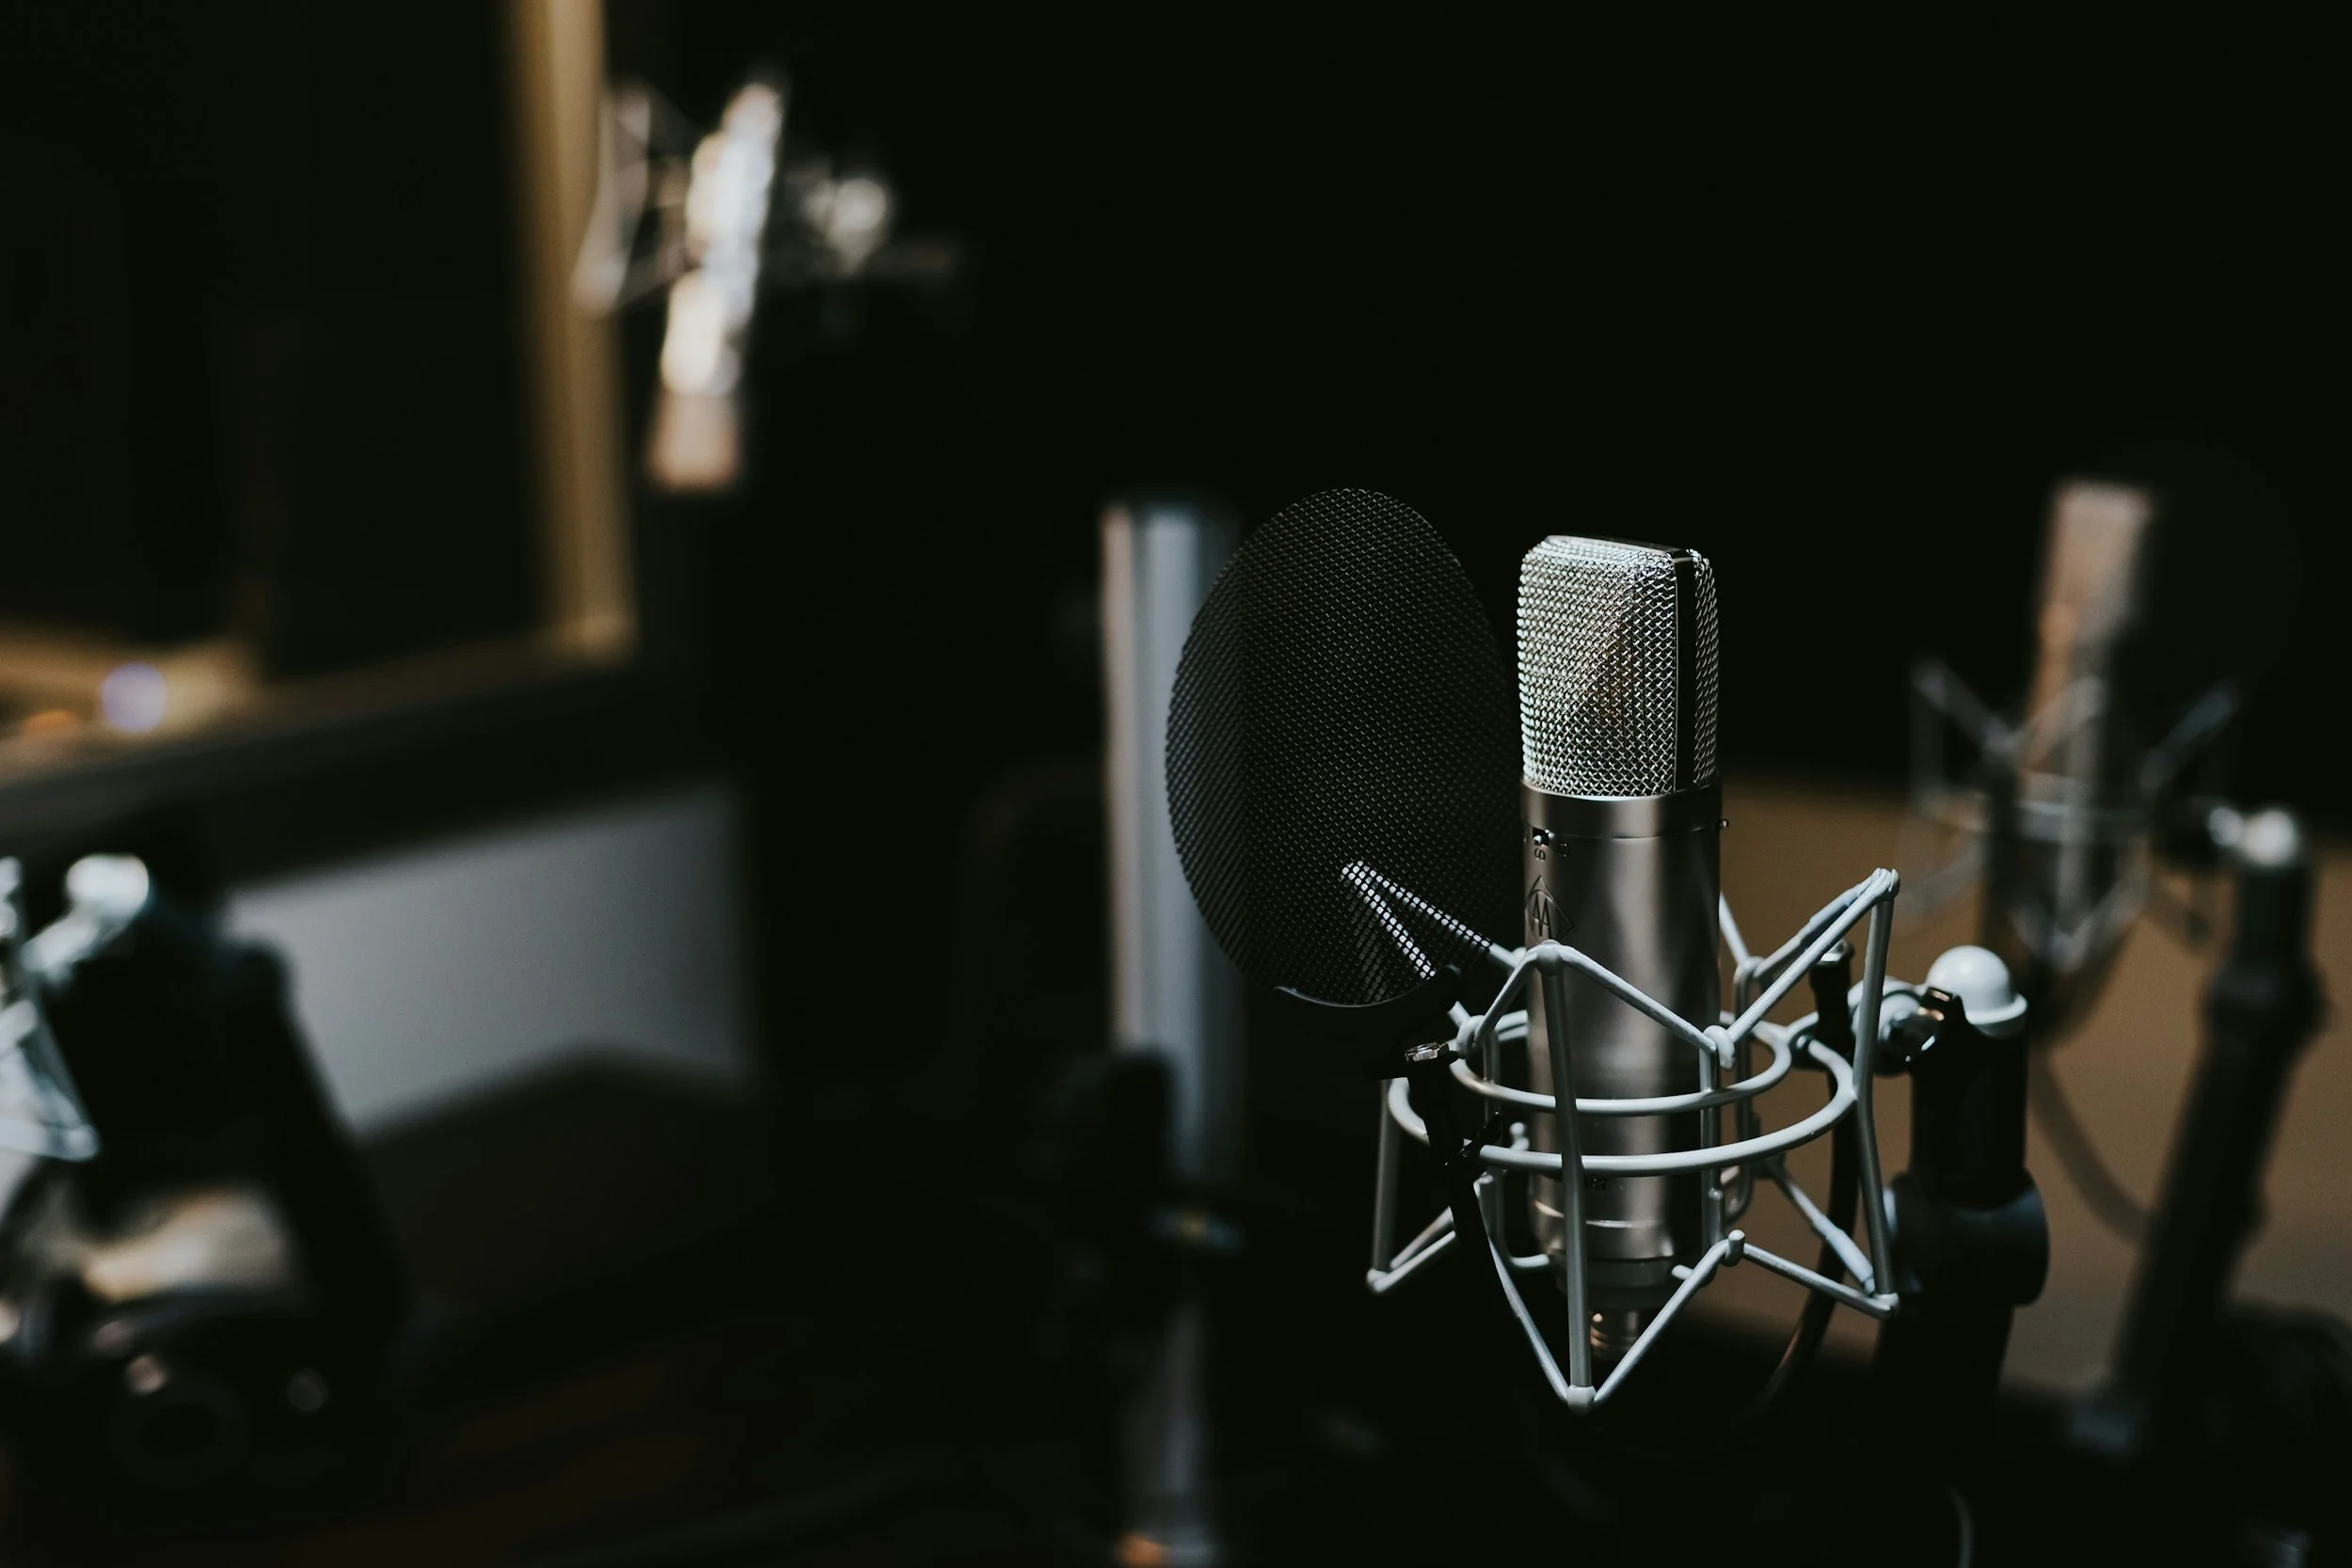
Dynamic microphones are workhorses in the audio world. They're ideal for recording in less-than-perfect acoustic environments, making them a great choice for home studios. These mics are more tolerant of early reflections in untreated or semi-treated rooms, allowing for better recordings even when the space isn't acoustically perfect. They also excel at controlling harsh vocals and reducing the need for de-essing in post-production.
On the flip side, condenser microphones are known for their crisp, detailed sound. They shine in acoustically treated rooms and can produce fantastic vocal tracks when used with proper placement techniques. However, they're more sensitive to room acoustics and external noise, so they might not be the best choice for beginners in untreated spaces.
Popular Beginner Microphones
For those just starting out, here are some popular and affordable microphone options:
Shure SM57: This dynamic mic is a versatile workhorse. While often associated with instrument recording, it can also handle vocals well, especially in less-than-ideal acoustic environments.
Audio-Technica AT2020: A budget-friendly condenser mic that offers great sound quality for its price. It's known for its warm lower mid-range and subtle high-end lift, making it flattering for vocalists.
Electro-Voice dynamic microphones: Even their $100 models can produce surprisingly good vocal results, offering a cost-effective option for beginners.
When choosing between these options, consider your recording environment and the type of sound you're after. If you're working in an untreated room or need to record when it's not completely silent, a dynamic mic like the SM57 might be your best bet. However, if you have a well-treated space and want to capture more detail in your recordings, a condenser like the AT2020 could be a great choice.
Remember, the key is to keep an open mind and choose a microphone that suits both your recording environment and the vocalist you're working with. Don't be swayed by flashy models or preconceptions about what's "professional" - focus on what works best for your specific needs and budget.
Connecting Your Gear
Cable Types
In the world of audio engineering, understanding cable types is crucial. There are two primary signal types: analog and digital. Analog signals consist of continuous electric current, while digital signals are data streams of ones and zeros.
Analog cables include:
XLR: Always balanced, ideal for long runs without noise interference.
TRS (Tip-Ring-Sleeve): Can be balanced or unbalanced, versatile for various applications.
TS (Tip-Sleeve): Always unbalanced, commonly used for instruments.
RCA: Unbalanced, often used in pairs for stereo connections.
Digital cables, like USB, are practically impervious to noise and can transfer more than just audio information.
Balanced cables, such as XLR and some TRS, contain three internal wires and use phase cancelation to reject noise. Unbalanced cables, like TS and RCA, are more susceptible to interference and should be kept short.
Signal Flow Basics
Signal flow is the order of operations a sound goes through from source to output. A typical signal flow might look like this:
Sound source (instrument or voice)
Microphone or direct input
Audio interface
Digital Audio Workstation (DAW)
Back to audio interface
Speakers or headphones
Understanding signal flow helps troubleshoot problems and optimize audio quality. For instance, mic-level signals need to be boosted to line level using a preamp before recording or processing.
When connecting gear, remember that all points in your cable circuit must be balanced for a balanced connection. This includes the output on your gear, cables, and input it's going into.
For instruments like guitars and basses, a DI (Direct Injection) box can be used to convert unbalanced signals to balanced and match audio levels. This is particularly useful when connecting to mixers or PA systems.
By mastering these concepts, audio engineers can ensure clean signal paths, minimize noise, and create an efficient studio setup.
MIDI Controllers and Virtual Instruments
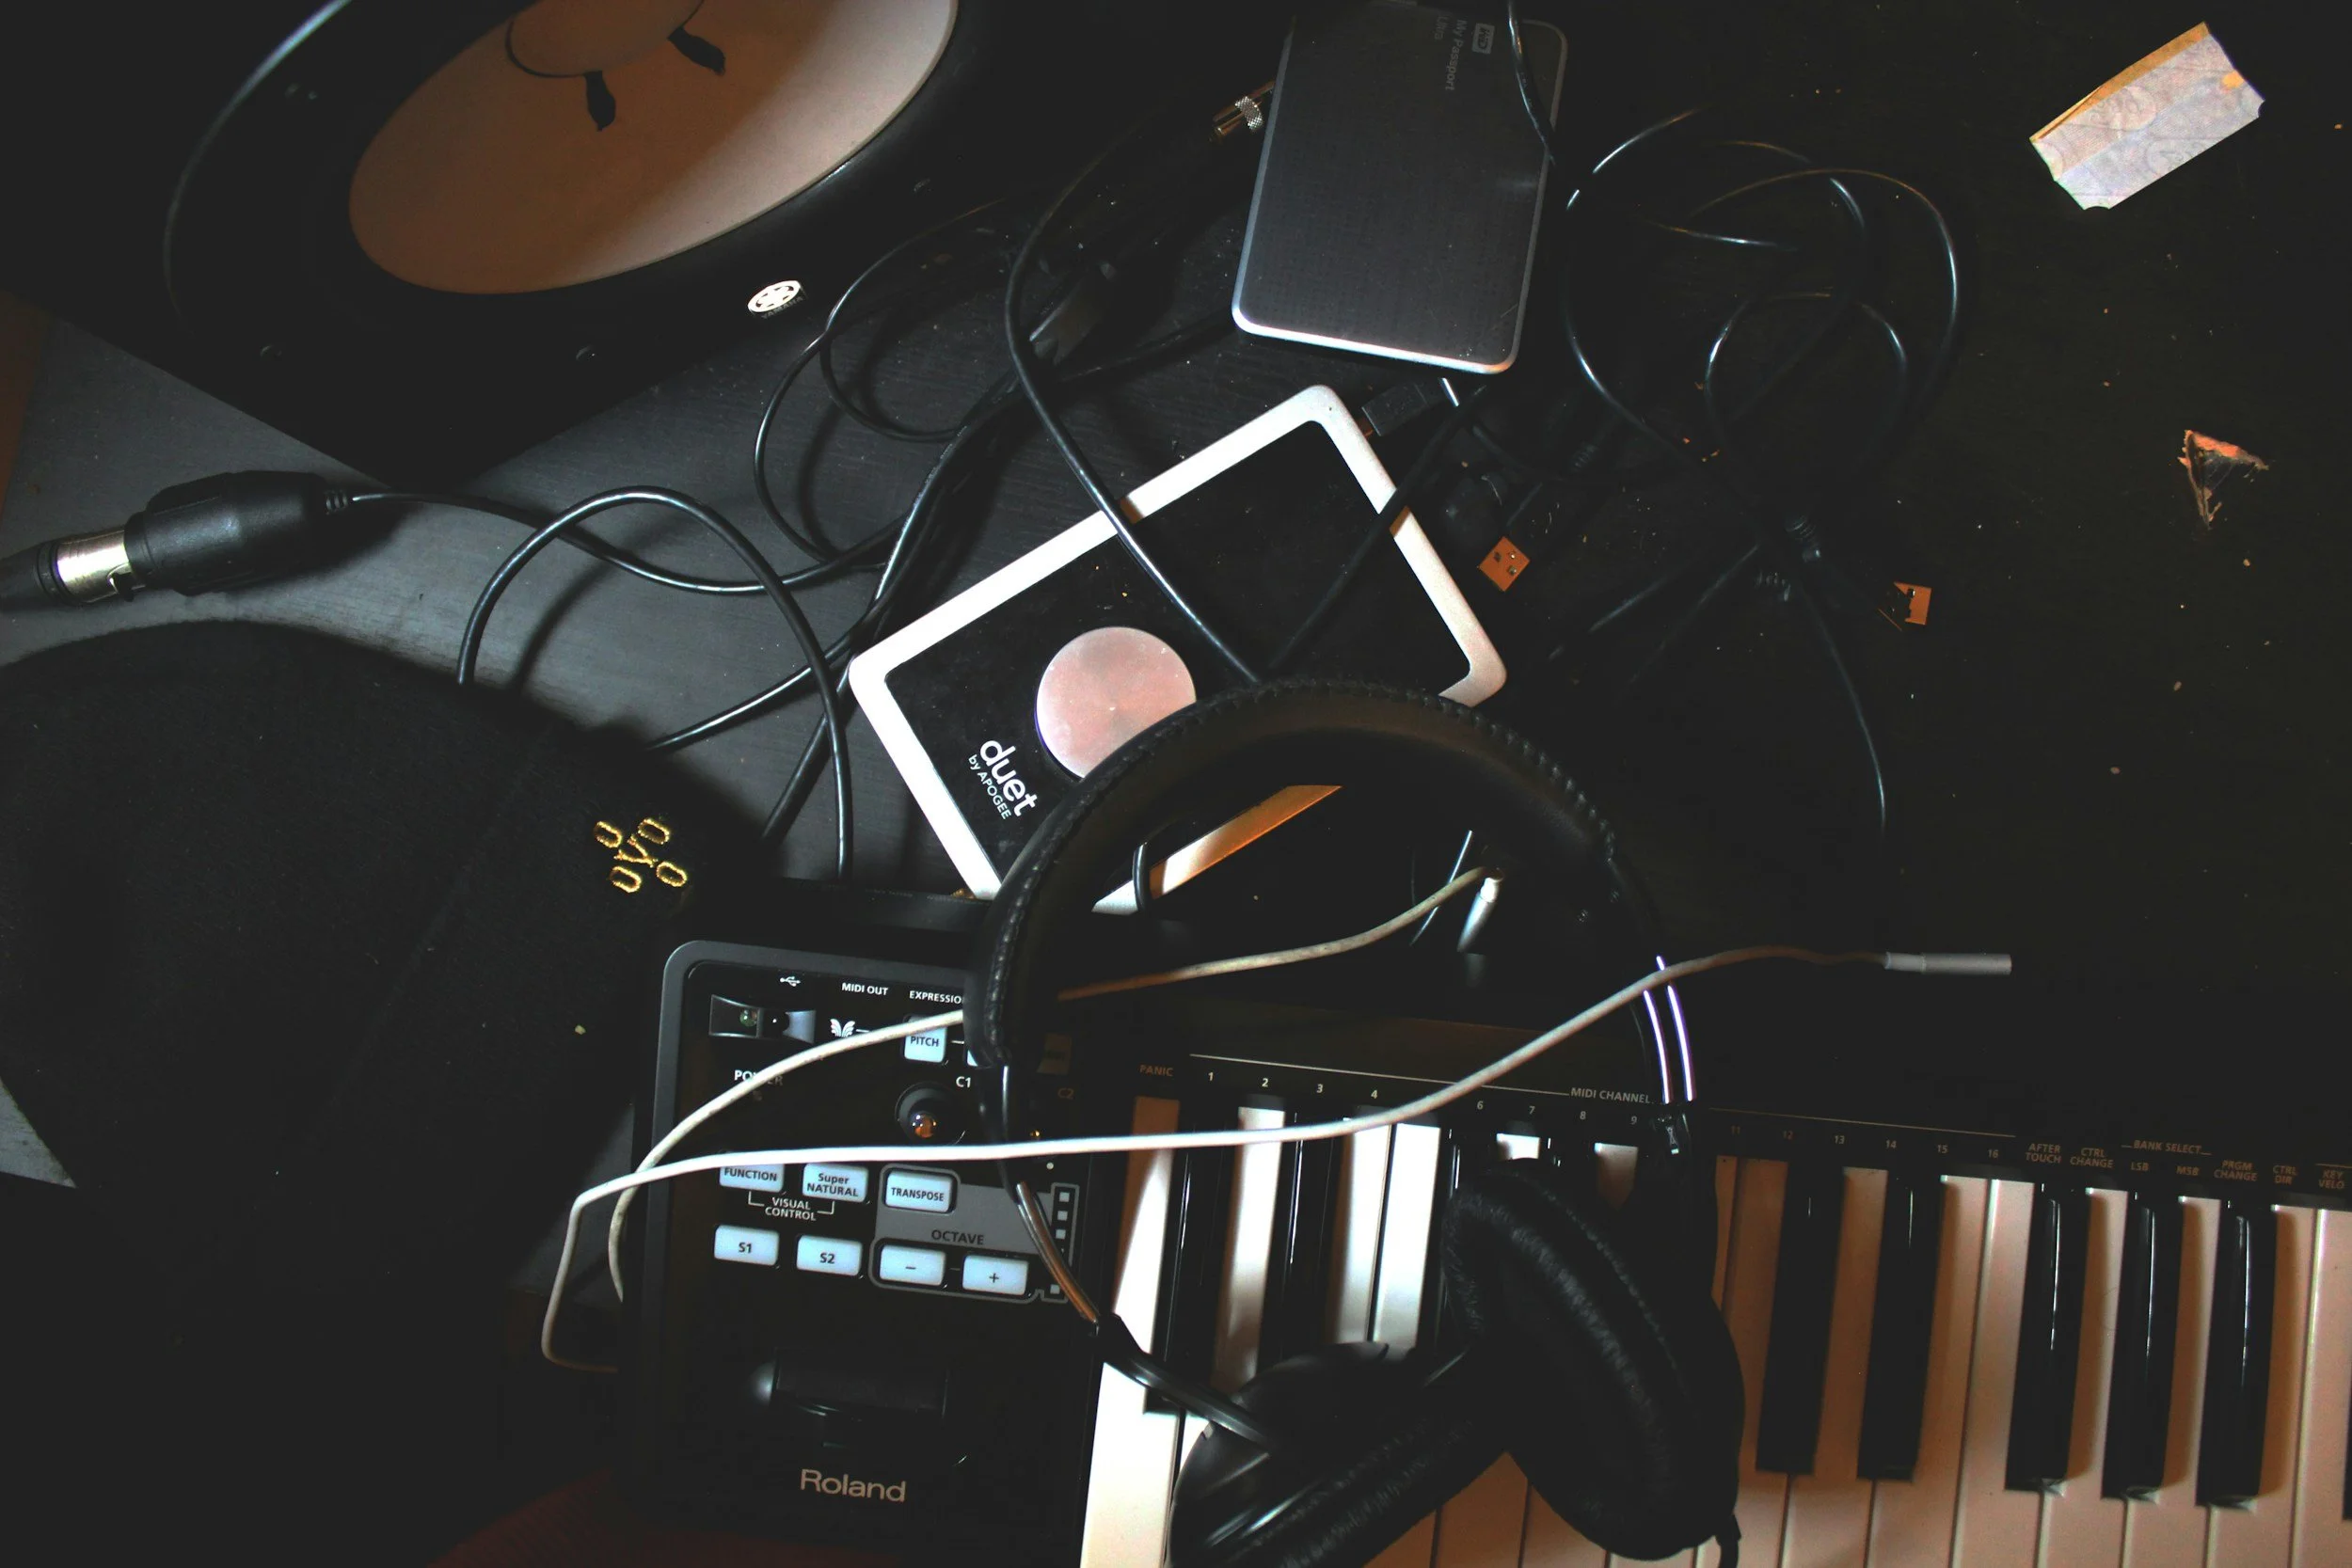
MIDI controllers are essential tools in modern music production. They allow audio engineers to control digital audio workstations (DAWs) and virtual instruments with precision and expressiveness. These devices don't produce sound themselves but generate MIDI data that communicates with software or hardware to create music.
Choosing a MIDI Keyboard
When selecting a MIDI keyboard, consider these factors:
Size and key count: Options range from 25 to 88 keys, depending on your needs and available space.
Key type: Choose between synth-action, semi-weighted, or fully-weighted keys based on your playing style.
Additional controls: Look for features like pitch and modulation wheels, drum pads, and transport controls.
Portability: Consider a compact 25-key controller for travel or a larger model for home studios.
Compatibility: Ensure the controller works with your DAW and other software.
Popular VST Plugins
Virtual Studio Technology (VST) plugins are software instruments and effects that expand your sonic possibilities. Here are some beginner-friendly options:
Omnisphere 2: Offers a vast library of over 14,000 high-quality presets, perfect for beginners exploring sound design.
Arturia V Collection 8: Provides authentic simulations of classic hardware synthesizers with intuitive interfaces.
Native Instruments Kontakt Komplete 13: A comprehensive bundle with synths, sampled instruments, and effects suitable for various genres.
Xfer Records Serum: A powerful wavetable synthesizer with a user-friendly interface and endless customization options.
u-He Diva: Emulates classic analog synthesizers with a warm, vintage sound and over 1,200 presets.
These VST plugins offer extensive preset libraries and intuitive interfaces, making them ideal for beginners while providing room for growth as skills develop.
Troubleshooting Common Issues
Latency Problems
Latency is a common issue in home recording studios, causing delays between input and output signals. Audio engineers often encounter this problem, which can significantly impact recording quality. To address latency issues, consider the following steps:
Adjust buffer settings: Lower the buffer size in your Digital Audio Workstation (DAW) to reduce latency. However, be cautious as extremely low settings may increase CPU load.
Increase sample rate: Doubling the sample rate can halve latency. For instance, switching from 44.1 kHz to 96 kHz may improve performance.
Use direct monitoring: Many audio interfaces offer direct monitoring features, allowing you to hear input signals without passing through the DAW.
Implement an analog monitoring setup: Use a small mixer with built-in effects for zero-latency monitoring and effects processing.
Consider DSP-enabled interfaces: Some audio interfaces, like the UAD Apollo series, have built-in digital signal processing for low-latency effects.
Audio Driver Conflicts
Driver conflicts can cause various audio issues, including sound quality problems and system instability. To resolve these conflicts:
Use manufacturer-specific drivers: Ensure you're using the latest drivers provided by your audio interface manufacturer.
Avoid Windows updates overwriting drivers: If Windows updates are replacing your preferred drivers, use the Hide Updates tool to prevent automatic replacements.
Disable conflicting audio drivers: In some cases, disabling built-in audio drivers (e.g., Realtek Audio) may resolve conflicts.
Reinstall audio drivers: If issues persist, try uninstalling and reinstalling your audio interface drivers.
Check compatibility: Ensure your audio interface is compatible with your operating system and DAW version.
By addressing these common issues, audio engineers can create a more stable and efficient home recording environment, allowing for smoother workflow and higher-quality productions.
Conclusion
Building a home recording studio is an exciting journey that opens up a world of creative possibilities. From selecting the right gear to mastering acoustic treatment, each step brings you closer to realizing your musical vision. Remember, it's not about having the most expensive equipment, but rather about understanding the principles of sound and making smart choices that align with your goals and budget.
As you embark on this adventure, keep in mind that practice and experimentation are key to honing your skills. Don't be afraid to try new techniques, push the boundaries of your setup, and most importantly, have fun with the process. With dedication and the knowledge you've gained, you're well on your way to creating professional-quality recordings right from the comfort of your home.
For professional help, contact us at info@anadigi.org.
If you like what we shared, feel free to follow us on Instagram & Facebook. We are located in the Central East region of Singapore! Anadigi Sound Lab also provides rehearsal and jamming studio rental services, visit our website here to learn more about our other services.

